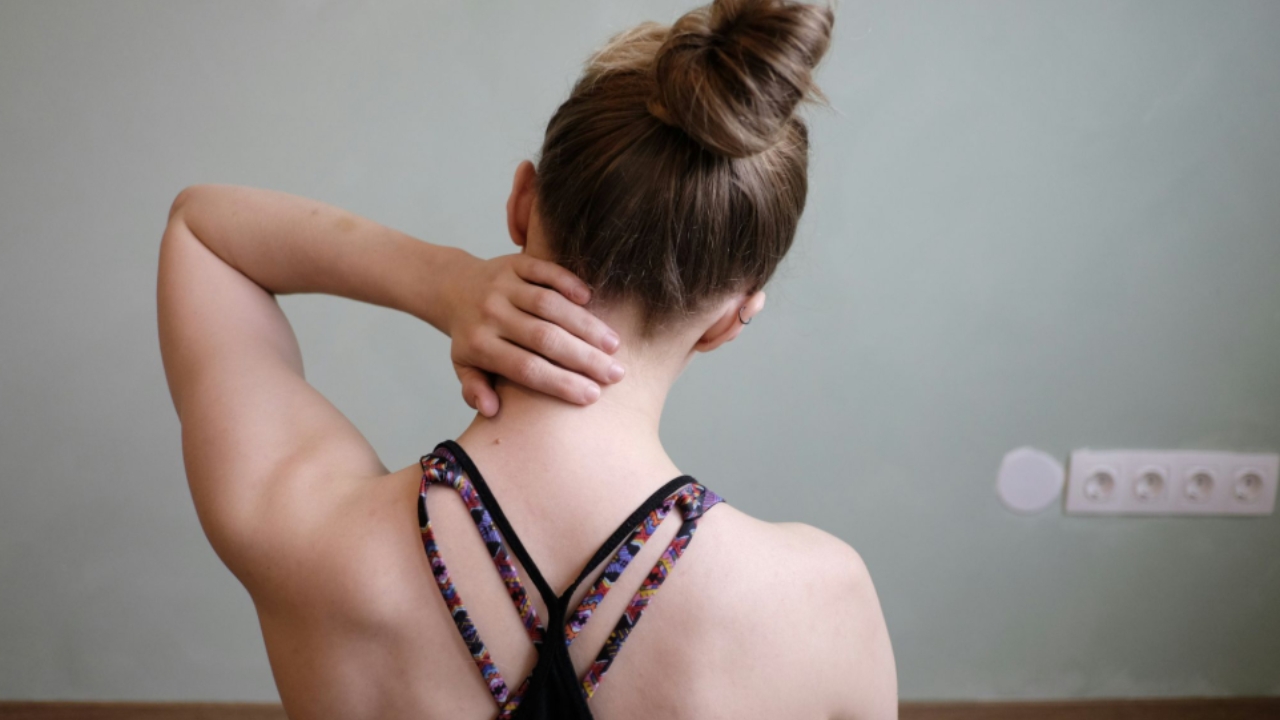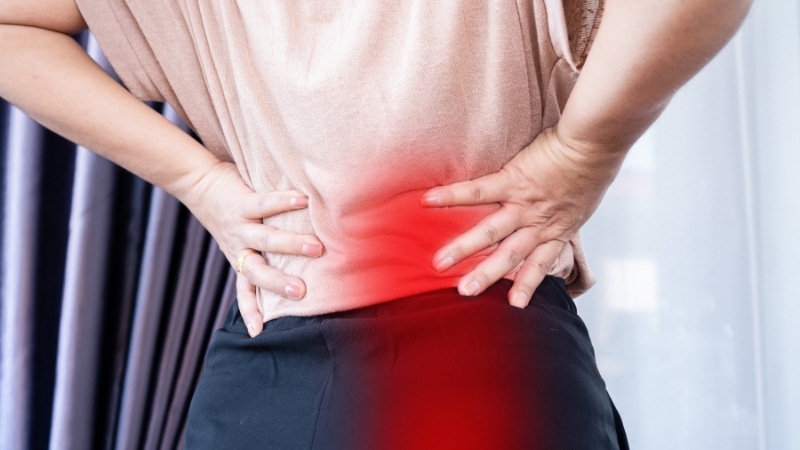
When your back aches and your leg tingles, it’s not just annoying, as it can make everyday tasks feel like climbing a mountain.
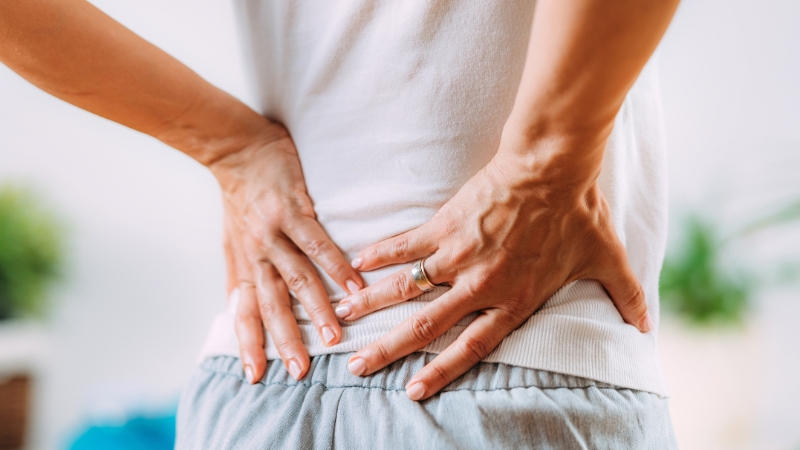
If you’ve ever dealt with sciatic pain, you know the drill. That deep, sharp ache that starts in your lower back and radiates down your leg isn’t something you can just ignore.
Sciatica affects an estimated 10 to 40% of people over the course of their lives, often caused by pressure on the sciatic nerve due to a herniated disc, spinal stenosis, degenerative changes, or even tight muscles in the buttocks.
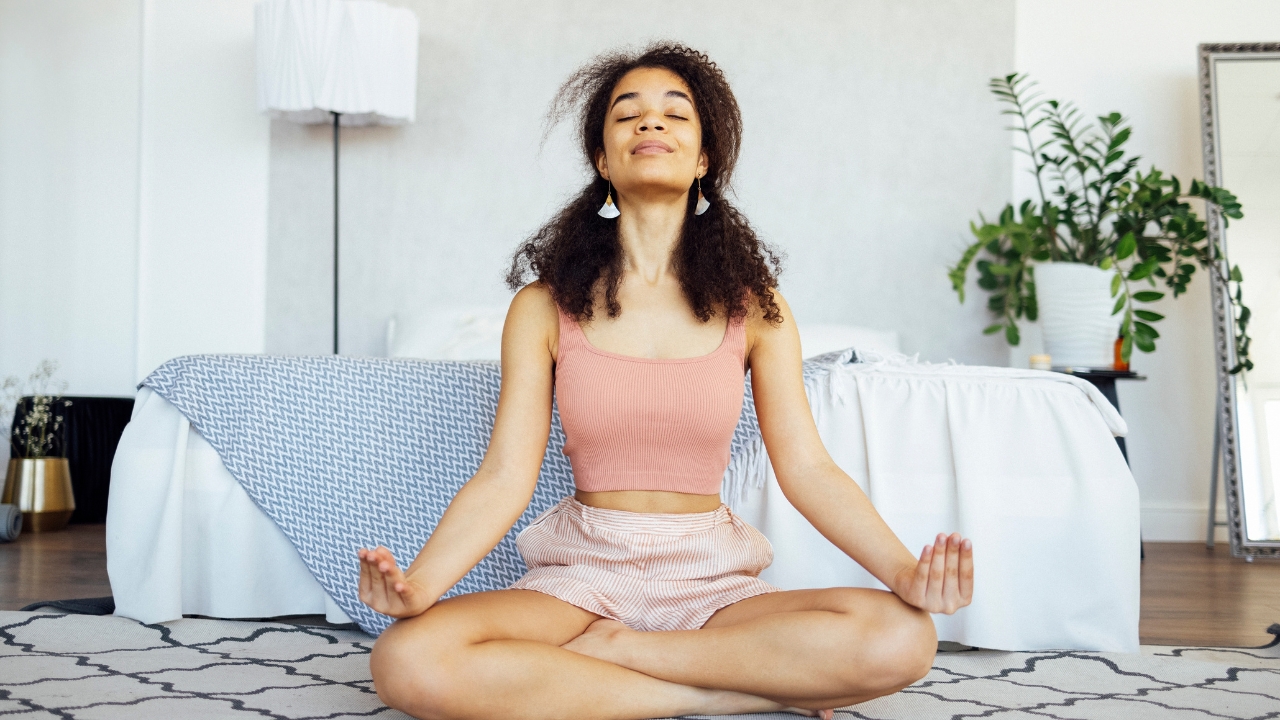
The pain might come and go, or it might stop you in your tracks, literally. But the good news? For most people, sciatica improves significantly with consistent movement, specific exercises, and smart daily habits.
Let’s get into how you can strengthen your back and calm that sciatic nerve, all from the comfort of home.
The Sciatic Nerve and What Triggers It
The sciatic nerve is the longest in the body, running from your lower spine through your hips and buttocks and down each leg. When that nerve is irritated or pinched, things go sideways fast.
Common Triggers Include
- Herniated disc: One of the spinal discs bulges out and presses on the nerve.
- Spinal stenosis: The spinal canal narrows and crowds the nerve.
- Piriformis syndrome: A small buttock muscle compresses the nerve. In addition to self‑care, specialized non‑surgical back pain treatments can help release piriformis tension and reduce nerve compression.
- Degenerative disc disease: Wear and tear on the discs gradually leads to nerve issues.
Sciatic pain doesn’t always feel the same for everyone. It could be a dull ache in your hip, a searing pain in the back of your thigh, or numbness that makes walking feel strange.
But no matter how it shows up, improving your core strength, hip mobility, and spinal support helps relieve the pressure.
7 Home Exercises to Help with Sciatic Pain
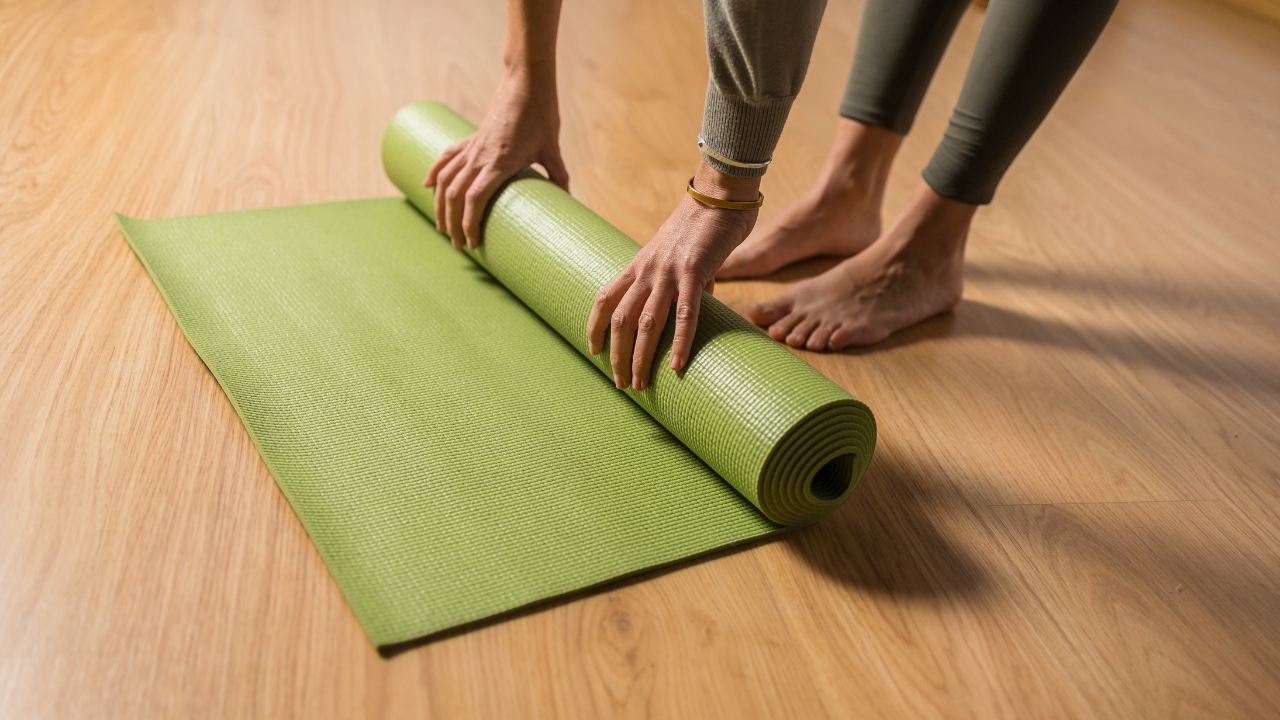
You don’t need a gym or fancy equipment. A flat surface, a yoga mat, and a little consistency go a long way.
All of the exercises below are beginner-friendly, and each one is picked to either stretch tight areas or strengthen supportive muscles. You’ll want to aim for gentle, pain-free movement, never force it.
1. Knee-to-Chest Stretch
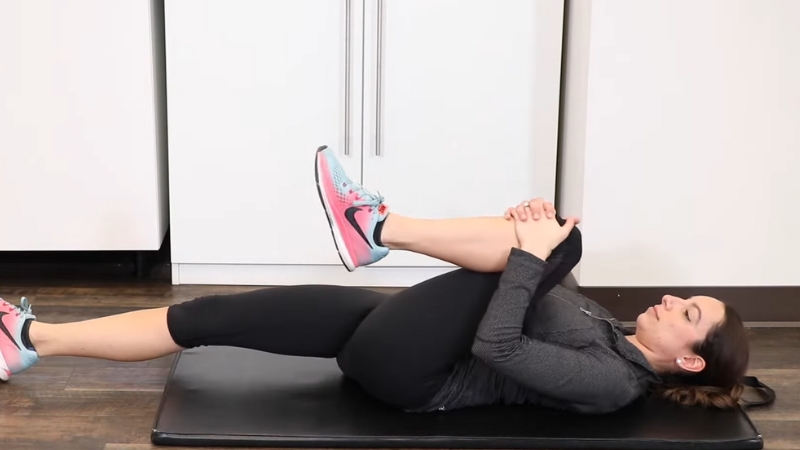
What it does: Relieves pressure on your lower back and glutes.
- Lie flat on your back, legs extended.
- Bend one knee and slowly pull it toward your chest using both hands.
- Hold for 30 seconds, then switch legs.
- Reps: 2–4 per side
- Tips: Use a small pillow under your head if needed. If stretching both legs feels too intense, keep the opposite knee bent with your foot on the floor.
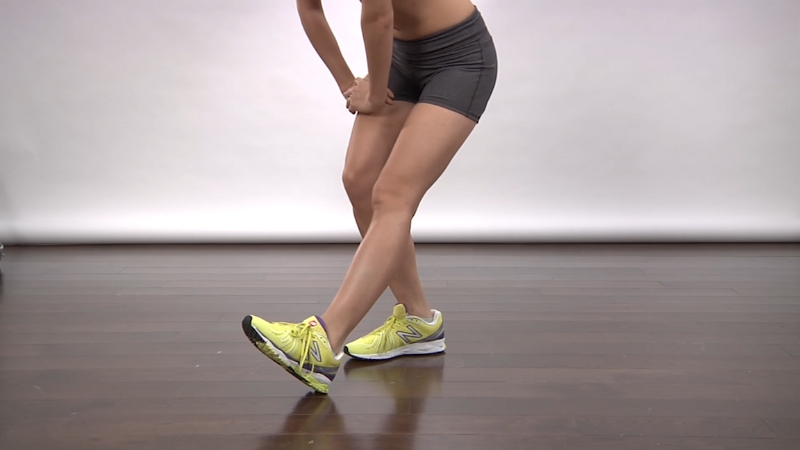
2. Seated Glute Stretch
What it does: Loosens up tight glutes and piriformis muscles.
- Sit tall on a chair.
- Cross one ankle over the opposite knee to form a figure-four.
- Keeping your back straight, gently lean forward until you feel a stretch in your buttock.
- Hold for 15–30 seconds. Switch sides.
- Reps: 3–5 per side, twice daily
- Tips: Don’t hunch forward—use your hips to lean. If your knees or hips are tight, you can support your ankle with your hand.
3. Standing Hamstring Stretch
What it does: Stretches out the hamstrings, which can tug on the lower back when they’re too tight.
- Stand facing a low step or sturdy box.
- Place one heel on the surface, keeping your leg straight.
- Lean forward gently with a flat back, keeping both hips facing forward.
- Hold for 20–30 seconds. Switch legs.
- Reps: 2–3 per side
- Tips: Support yourself with a wall or railing. If your hamstrings are extra tight, use a yoga strap or towel around your foot.
4. Pelvic Tilts
What it does: Builds strength in your lower abs and stretches your lower back.
- Lie on your back, knees bent, feet flat on the floor.
- Tighten your abdominal muscles and press your lower back into the ground.
- Hold for a few seconds, then release.
- Reps: 2–8 reps
- Tips: Move slowly and with control. You should feel your lower belly working—avoid tensing your shoulders or neck.
5. Glute Bridge
View this post on Instagram
What it does: Strengthens your glutes and hamstrings, which support your lower back.
- Start in the same position as pelvic tilts.
- Push through your heels to lift your hips off the ground, forming a straight line from knees to shoulders.
- Hold for 5 seconds, then lower.
- Reps: 2–3 sets of 8–10 reps
- Tips: Keep your core tight the entire time. Avoid letting your lower back arch or your knees splay outward.
6. Clamshell Exercise
What it does: Targets the side glutes (gluteus medius), essential for hip stability.
- Lie on your side with knees bent, legs stacked.
- Keeping your feet together, lift your top knee as high as you can without moving your pelvis.
- Hold briefly, then lower.
- Reps: 8–10 per side
- Tips: You can place a resistance band around your thighs to make this more challenging later on. Keep hips stacked and still.
7. Bird Dog Pose
@dr.red.dpt Bird dog can be a great exercise for many people! #birddog #lowbackpain #redspt #1stphorm #legionofboom ♬ original sound – Red’s PT
What it does: Boosts core and lower back strength while improving balance.
- Get on all fours, hands under shoulders, knees under hips.
- Extend your right arm forward and your left leg back.
- Hold for 5 seconds, then return to the starting position and switch sides.
- Reps: 8–10 per side
- Tips: Keep your head neutral and your core engaged. Imagine balancing a glass of water on your lower back.
5 Other Ways to Support Recovery
1. Move More, Sit Less
Long hours on the couch? Not doing your back any favors. Try short walks, gentle bike rides, or even standing desk time throughout the day to stay loose.
2. Use Hot and Cold Packs the Right Way
In the first couple of days of a flare-up, cold therapy (15–20 minutes at a time) can help calm inflammation. After that, switch to heat—like a warm towel or heating pad—to soothe tight muscles.
3. Prioritize Posture
Whether you’re sitting at a desk or driving, try to keep your head, shoulders, and hips aligned. A small cushion behind the lower back can help maintain your spine’s natural curve.
4. Don’t Rush Back into High-Impact Activities
If you’re recovering from a recent flare-up, give your body at least 6 weeks before jumping into running, lifting heavy weights, or twisting movements. Start slow and build up with control.
5. Pain Meds When Needed
Over-the-counter options like ibuprofen or acetaminophen can help you get through tough days. But don’t rely on them as a permanent solution—and always check in with your doctor if symptoms linger.
When It’s Time to Talk to a Pro

If you’ve been consistent with your exercises and habits, most sciatic symptoms improve in a few weeks. But some cases need more help.
It’s a good idea to see a doctor or physical therapist if:
- Your pain keeps getting worse
- You notice numbness or weakness in your leg
- You’ve had symptoms for over three months
- You suddenly lose control of your bladder or bowels (go to the ER, this is an emergency)
A physical therapist can create a tailored program based on your condition, work habits, and movement patterns. And in a small percentage of cases, surgical options might be considered, especially for severe herniated discs.
Final Thoughts
Sciatica has a way of throwing off your entire routine, but it doesn’t have to control your life. With a few specific, well-chosen exercises and a consistent daily routine, many people find real relief.
The moves shared here aren’t just stretches—they’re tools to build a stronger, more resilient back and support the muscles that keep your spine happy.
And it’s not about doing everything perfectly. Just showing up for 10–15 minutes a day, listening to your body, and staying committed can lead to big changes over time.
If you’re starting out, go slow, stay curious, and don’t hesitate to check in with a pro when things feel off. You’ve got this.