Share Post:
I’m a bit of a clean freak, but I’m also the type of person who likes to know exactly what’s in the products I use around the house. If you’re like me, you’ve probably found yourself staring at the ingredient list on a store-bought cleaner and wondering, “What on earth is all this stuff?”
Table of Contents
ToggleDIY Natural All-Purpose Cleaner
Equipment
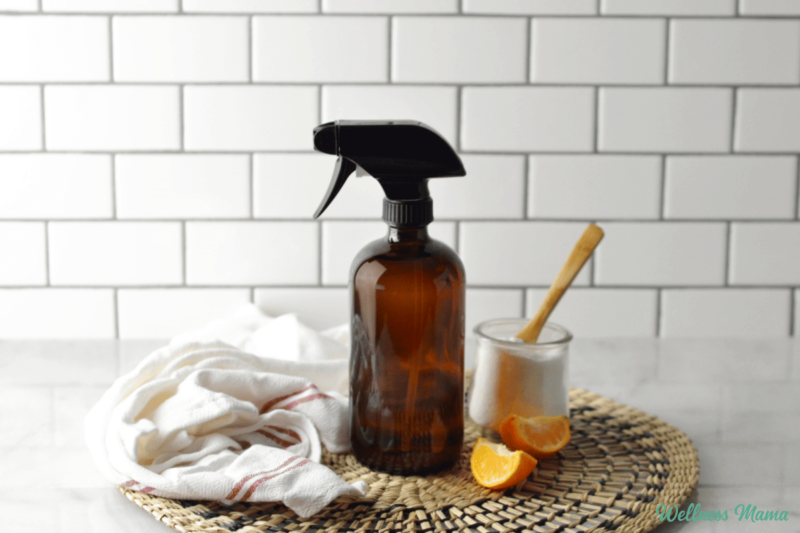
- 1 16-ounce glass spray bottle
- 1 Glass measuring cup
- 1 Funnel (optional, for easier pouring)
Materials
- 2 cups cups distilled water
- 3–4 tablespoons pure liquid castile soap (such as Dr. Bronner’s)
- 20 drops essential oil (lemon, sweet orange, or preferred blend)
Instructions
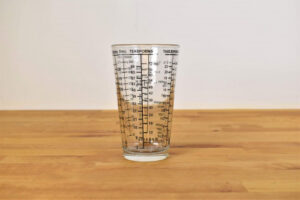
- Prepare the Ingredients: Measure out 2 cups of distilled water into a glass measuring cup.
- Add the Castile Soap: Pour 3–4 tablespoons of pure liquid castile soap into the water. Adjust the amount based on how strong you want the cleaner to be.
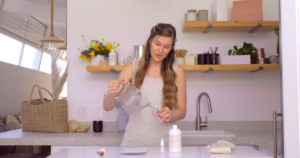
- Add Essential Oils: Drop in 20 drops of your chosen essential oil. Lemon and sweet orange are excellent for cutting through grease, while tea tree and eucalyptus offer antibacterial benefits.
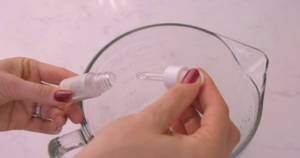
- Mix the Solution: Stir the mixture gently to combine the ingredients.
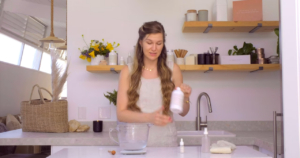
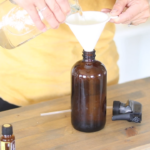
- Transfer to Spray Bottle: Use a funnel to pour the mixture into your glass spray bottle. Secure the lid tightly and give it a good shake. Label your spray bottle and store it in a cool, dark place. Shake well before each use.
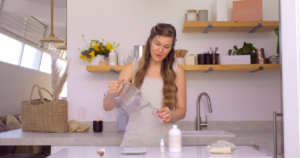
Video
Notes
For Custom Scents: Mix and match essential oils to create your own signature scent. Lavender and peppermint are great choices for a calming and refreshing aroma.
Shelf Life: This cleaner will last about a month if stored properly. If you notice any changes in smell or appearance, discard and make a fresh batch.
Why Go Natural with Your Cleaning Products?
I’ll be honest, making the switch wasn’t entirely my idea. My partner, Nik, used to work for a big consumer goods company and was all about using the products they sold. The problem? Those products were loaded with chemicals.
I started noticing I was getting headaches while cleaning, and my skin was always irritated. It was only when I read more about the potential health risks associated with phthalates and other chemicals that I decided to take matters into my own hands.
The first time I made my own cleaner, I was skeptical. Would it work as well? Spoiler: It did, and then some. Now, I can’t imagine going back. I feel great knowing that I’m not exposing myself, my family, or my pets to anything harmful. Plus, the fresh, natural scents are way more pleasant than that harsh, chemical smell!
Customize Your Cleaner for Different Areas
One of the best things about making your own cleaner is how easy it is to customize. Here are a few of my favorite variations:
Kitchen Cleaner
For the kitchen, I love using a combination of lemon and sweet orange essential oils. They’re both great at cutting through grease, and the citrusy scent is so refreshing! I also add an extra tablespoon of castile soap for those extra greasy spots around the stove.
Bathroom Cleaner
Floor Cleaner
If you have hard floors, you can use this same cleaner in your mop bucket. Just add a bit more water and a few extra drops of your favorite essential oil. Your floors will be clean and your house will smell amazing!
Benefits of Making Your Own Cleaner
Making your own cleaner isn’t just about avoiding harsh chemicals. There are a few other perks too:
- It’s Cost-Effective: The ingredients for this cleaner are inexpensive and last a long time. I can make multiple batches for the cost of one store-bought cleaner.
- It’s Eco-Friendly: By reusing the same spray bottle and using biodegradable ingredients, you’re cutting down on plastic waste and doing your part for the planet.
- It’s Safe: No more worrying about what’s in your cleaning products or accidentally inhaling toxic fumes.
FAQs
Final Thoughts
I hope this inspires you to give DIY cleaning a try. It’s not only simple and cost-effective but also a great way to know exactly what you’re using in your home.
Related Posts:
- DIY Texturizing Spray for Beachy Waves – Natural & Non-Toxic
- 10 Simple Exercises to Stay Active at Your Desk Job
- Simple Training Tips for Adults Over 50 Who Want to…
- 10 Simple Face Exercises That Women Over 40 Follow…
- DIY Pillow Spray Recipe & Tips for Better Beauty Sleep
- DIY Relaxing Bubble Bath - Create Your Own Oasis in Minutes


